How To Waterproof Your Bathroom In 12 Steps
Need to waterproof your bathroom? In this article we’ll run through some key considerations and share advice.
Water leaks can be costly. It has been estimated that repairing a leak costs £1,074 on average.
The cost of water dripping alone can add up over time. Moreover, 20% of homeowners have had three or more water leaks!
That’s not the only reason to have a waterproof bathroom though. It prevents dampness, stops mould growing and provides better insulation.
Properly waterproofing your bathroom has a wide range of benefits. Here’s our guide, but remember, if you’re unsure what you’re doing, it’s better – and safer – to hire bathroom fitters.
#1 Choose the right materials for your waterproof bathroom
Make a start by planning which materials will work best in your waterproof bathroom. If using tape, make sure it’s waterproof tape, and so on.
Take action to avoid the buildup of mould and mildew, which can affect organic materials quicker.
Moisture can cause wood to rot and decay – for that reason, you may find that a PVC baseboard will be more effective than a wooden one in countertops.
You need materials that resist moisture – these tend to be inorganic ones such as porcelain, ceramic, stone, metal or plastic.
#2 Remove dirt and dust
Make sure the walls and floor are clean by using a vacuum cleaner or dustpan and broom before you get underway.
Also remove any old adhesive or crumbling plaster. However you clean the bathroom, check that the surfaces are dry before you begin waterproofing.
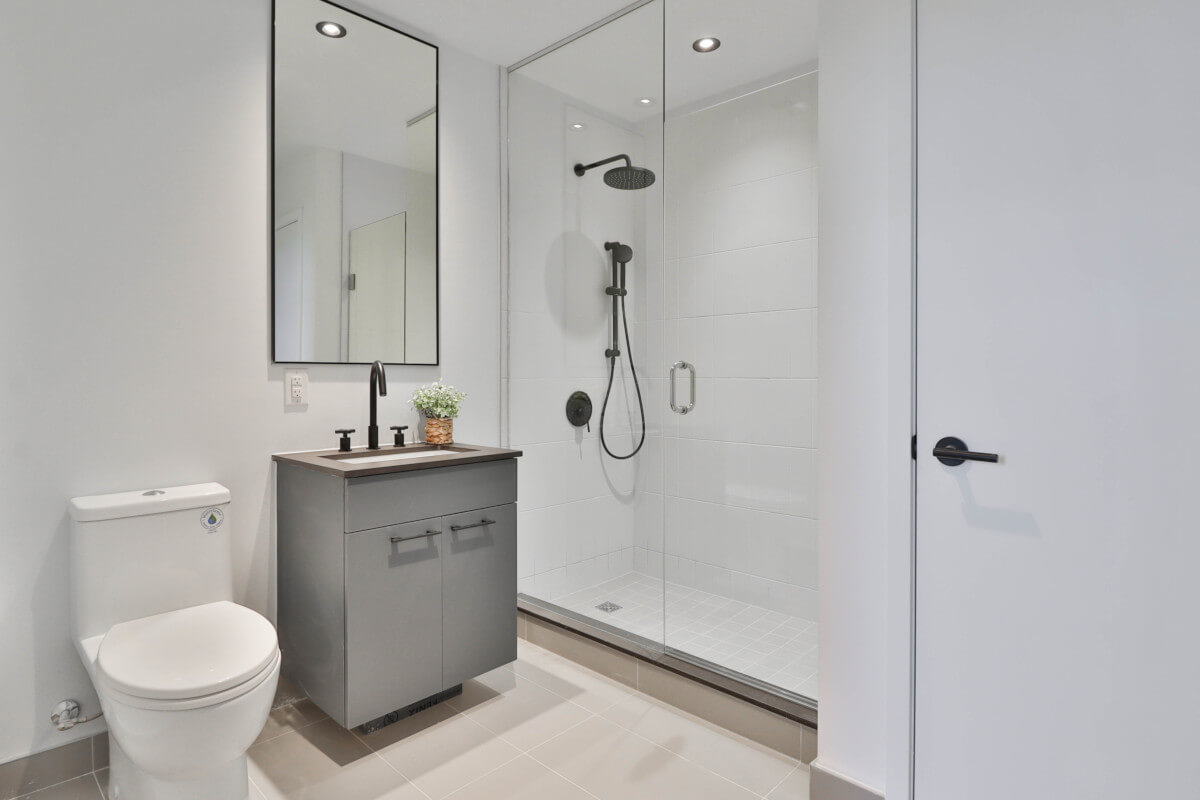
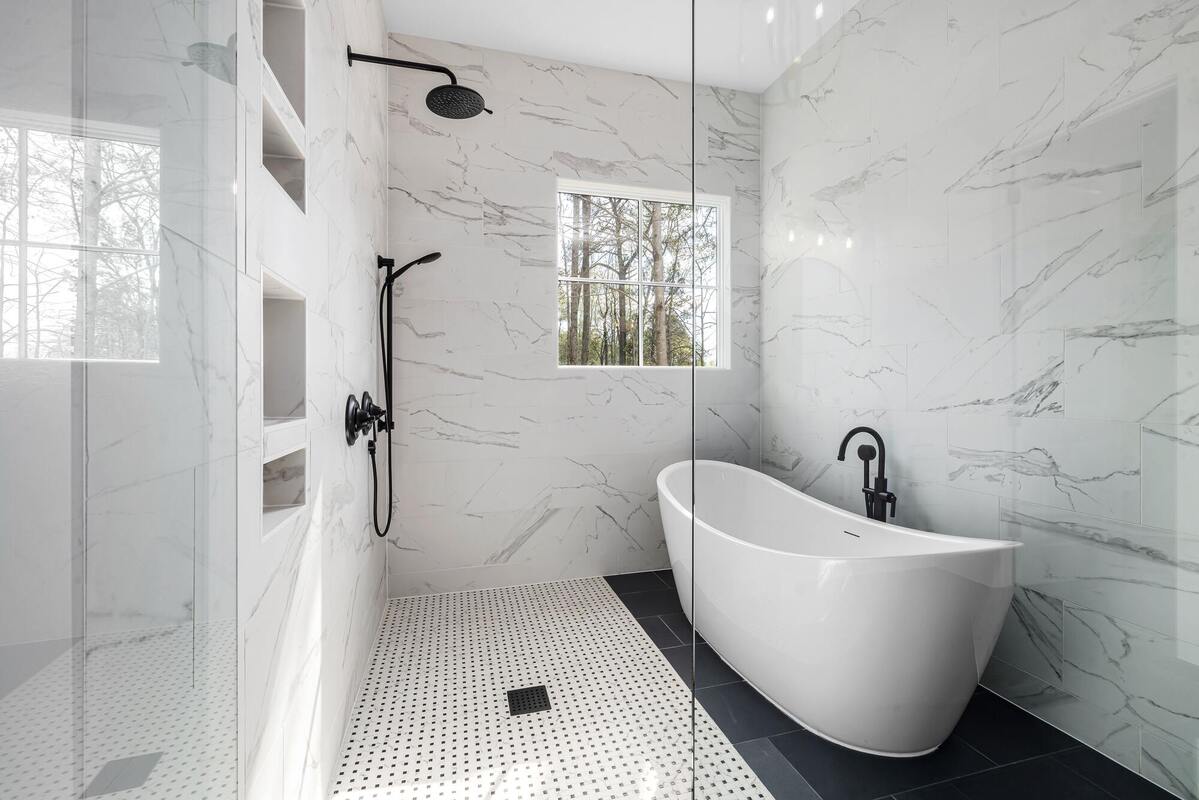
#3 Shower wall waterproofing
Whether you want to have a tiled one or a different type of shower, these are some common options for waterproofing all the areas behind it:
- Sheet waterproof membrane: Laid out over all surfaces including the shower base, this is an effective way to ensure durability
- Liquid membrane: By applying a primer, then a couple of coats and waiting for each one to dry, it’s easy to have liquid waterproof membranes ready to tile over
A foamboard can act as both a tile backer-board and waterproofing solution – there are various hybrid methods you can use too. But first, check the British Standards Institution’s codes of practice for wall and floor tiling.
#4 Smooth and seal
Use a silicone seal over all corner gaps and leave it as long as required to dry. The sealant may need 24 hours to set fully and be properly sealed
Pay close attention to the joints between the bathroom walls and floor – for example, with a baseboard that’s caulked around the edges.
#5 Check the shower drain
It’s crucial to have a high-quality drainage system in a waterproof bathroom, so keep this in mind when applying a membrane or sealant.
The drainage flow, grouting, puddle flange and so on need to be set up correctly to keep the shower fully waterproof.
#6 Watertight shower or bathtub fittings
Water leaks in a bathroom are usually caused by the shower or bath. So take extra care to make sure there are no gaps between these units and the floor or walls, to make them more water resistant.
You may find that one of the benefits of a walk-in shower is its structure with fewer joints or gaps, providing more of a waterproof barrier and better moisture protection.
The aforementioned foamboards or waterproofing membranes e.g. a liquid waterproofing membrane, when well-installed, should stop any moisture seeping into cavities.
Surround panels with caulking are another option. You’ll need to check these regularly and recaulk the seams for all the corners if required.
#7 How to waterproof a bathroom wall
Again, ceramic and porcelain bathroom tiles or other inorganic materials can withstand water damage very effectively.
However, if you do want to have wooden waterproof shower walls or surfaces in your bathroom, you can take preventative measures by using a strong sealant, such as lacquer or varnish.
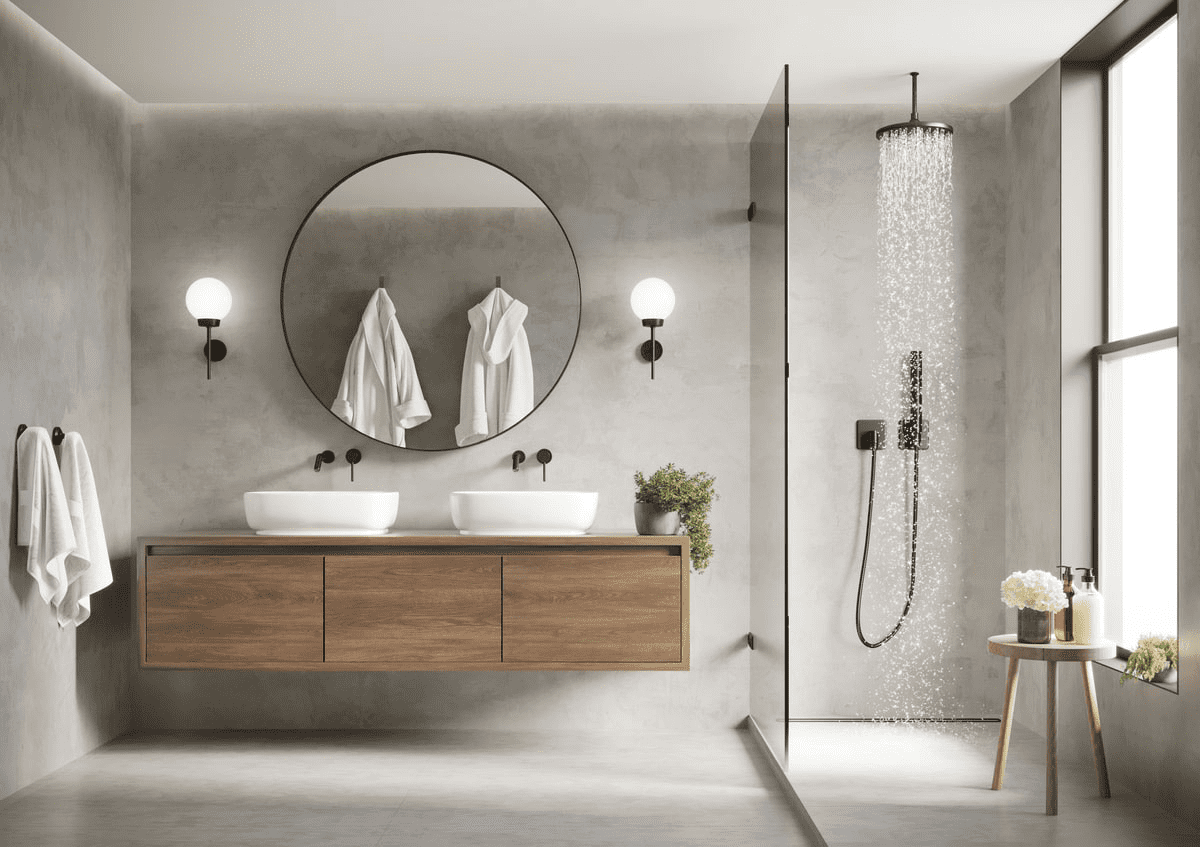
When creating a modern wet room, use waterproof materials throughout. Treat the entire space as a bathing area and ensure that all surfaces can withstand moisture. Here are some wet room ideas to inspire you!
#8 How to waterproof the bathroom floor
You’ve done the shower floor, but what about the bathroom floor?
As with waterproof shower walls, make sure that no wet area or moisture can harm the floor. Aside from ceramic tiles or porcelain tiles, you could consider vinyl plank flooring.
The installation needs to be watertight to prevent any moisture penetration through to the underlayers.
#9 Install a high-quality extractor fan
This is an important step to remove moisture from your bathroom and is crucial if the room doesn’t have any windows for ventilation.
Many extractor fans run for several minutes after you leave the bathroom and turn the light off – if yours doesn’t, leave the light on for a while to give it more time to extract moisture.
If you don’t like the noise these fans make, quieter ones are available too.
#10 Use the right paint
For waterproofing or decorating purposes, if you’re painting your new waterproof bathroom, avoid using any products that will streak or stain after water splashes.
Choose carefully. Matte or flat sheen interior paint often fall into this category unfortunately – a glossy paint is a more durable option.
#11 Use appropriate mats
A thick bathroom mat outside your bath or shower will help absorb the water when you’re finished bathing. A soft one will feel great underfoot too!
Wash and dry these regularly, particularly if they become saturated, to limit the amount of moisture in your bathroom.
#12 For any plumbing, hire a professional
Taking risks with plumbing can be expensive. You may be able to waterproof the bathroom yourself if you know what you’re doing, but plumbing requires a strong skill set.
If you don’t have significant experience with successful plumbing installations, always call in a professional company to follow the codes and stop any mistakes from happening. And for peace of mind, ask questions to assess their services before commissioning them to start working.
Summary: How to waterproof your bathroom
We hope this guide has helped you discover how to waterproof a bathroom. With the right waterproofing membrane and sealant, you’ll be on the right path.
And if you’re wondering how to waterproof wood for a bathroom, the answer is – with difficulty, but in places, you may have success by adding lacquer or varnish.
Check thoroughly that you plug any gaps and spend some time putting the finishing touches in place, whether it’s an extractor fan or a good shower mat, for a properly waterproofed bathroom.
If the above steps for waterproofing your bathroom sound too difficult, don’t worry – we can help!
We’re experts in bathroom design, refurbishment and the installation process with over 35 years of experience. Please don’t hesitate to contact us for more information.