How To Tile A Bathroom: Our Guide
There’s so much to learn around how to tile a bathroom, we could write a book about it – but instead we’ve summarised the key points for you in this handy guide!
Tiles are a great option in any wet room. They are long-lasting, water-resistant and easier to clean compared to painted walls in a bathroom.
While you’re planning how to tile a bathroom:
- How many tiles: To be on the safe side, get 10-15% more than you think is required, in case you need to cut some for the narrow spaces, or you make a mistake
- Buy some grout and thin-set mortar: If the mortar is unmixed, you’ll also need to add water
- Find the right tools: These include measuring tape, utility knife, a bucket and damp sponge, trowel, hammer and nails, tile cutter, cement board, grout float, tile nippers etc.
But before you start, a quick word of advice…
How to tile a bathroom – general guidance
Before we explain how to tile a floor in a bathroom, first things first – it’s better to be safe than sorry.
If you’re inexperienced in DIY or specialist trade work, you may find tiling a bathroom quite challenging. Things can go wrong and be expensive to fix.
So if you have any doubts at all then it’s best to leave the work to qualified bathroom installers.
And watch out for rogue traders – take a look at this £75,000 home renovation disaster reported by a disappointed homeowner in Australia!
However, if you’ve decided you’re happy to proceed yourself and want to take out the previous flooring, now’s the time – make sure it’s safe to remove anything before you do so.
How to tile a bathroom floor
Let’s start exploring how to tile a bathroom:
- Prepare the floor: Clean it, making sure the surface is flat and smooth
- Cut the right sized cement board for the space: Score it with a utility knife then lay it down, nailing the backerboard to the floor
- Set reference lines to avoid crooked tiling: Mark 90 degree angles from the walls
- Mix your mortar: It should have a thick enough consistency but don’t make too much or it will dry out – follow the manufacturer’s instructions carefully
Next, when it’s the right time for your tile adhesive:
- Spread a layer of mortar using the trowel: Make sure it’s even but don’t go too slowly
- Begin to lay bathroom floor tiles: Lay out a column and row of tiles on the floor using your reference lines
- Continue tiling: Start from the far corner and carry on until you reach the doorway
- Cutting tiles where needed: Some walls, the toilet, shower and so on may require a different shaped tile trim to fit properly
You may find tiling around a shower easier than a bath. These are our thoughts on replacing a bath with a shower, in case you’re considering this before working out how to tile a bathroom.
Leave your tile floor work for at least a day – the mortar needs time to dry. Next, on to grouting bathroom floor tiles:
- Pull out any tile spacers and mix your grout in a bucket: Again, pay close attention to the manufacturer’s instructions
- Press some into the grout lines with a trowel: Remove any excess from the tile joints before it dries
Then, wait another couple of days for the grout to work its magic before you seal all the tiles.
How to tile a bathroom wall
Now it’s time for the wall tiles. Again, make sure you’ve removed any old tiling (using a hammer and chisel), wall coverings, dirt or debris before making a start.
Wear goggles for your protection. Using a scraper, remove any leftover old mortar and fill in holes or cracks with Polyfilla, spackling paste or something equivalent, then:
- Prepare to waterproof your bathroom wall: use a backerboard
- Find the centre: Measure the wall by establishing the width and dividing by two, then draw a line down the middle using a spirit level
- Prime the wall: Leave to dry, then add a second coat if needed
You’ll now find that you can follow a similar procedure to before with the floor ceramic tiles. So, in summary:
- Mix your mortar: When you have the right consistency, spread a layer using your trowel on one side of the centre line – but don’t let it dry!
- Add a column or row of tiles: Put down the first tile firmly then follow your reference line
- Continue tiling: Stop when you reach the corners of the bathroom walls, then cut some smaller tiles when they don’t fit your tile layout
- Apply grout: After you’ve left everything to dry for at least a day
- Seal the newly laid tiles: After you’ve cleaned away any excess grout
That’s how to tile a bathroom! We’ve kept this guide as succinct as possible, but if you are taking the project on yourself, it’s a good idea to do some extra research on the individual steps.
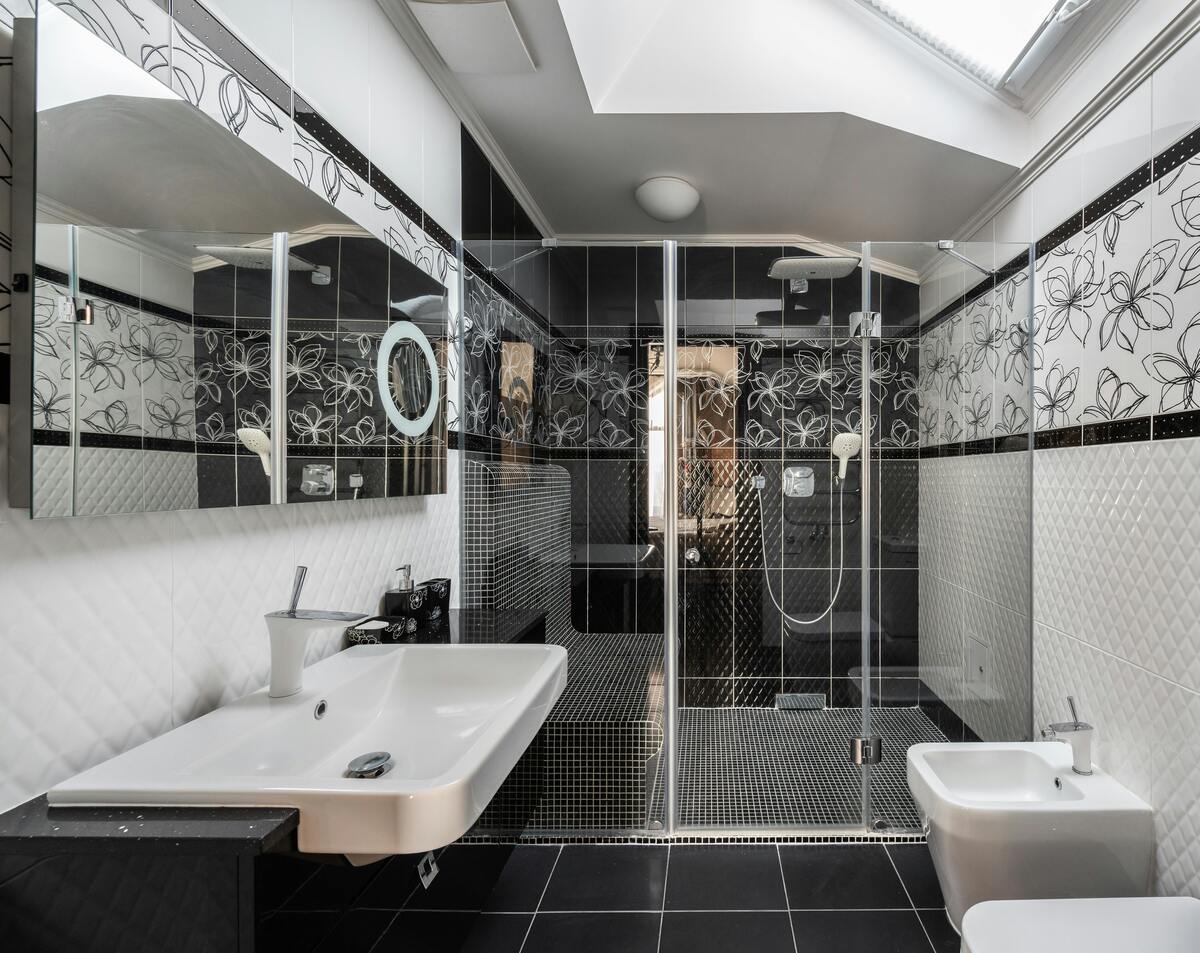
In terms of design, consider using natural stone tiles for an impressive look! Mosaic tiles can also look great.
And if you’re retiling, could this be the right time for some underfloor bathroom heating?
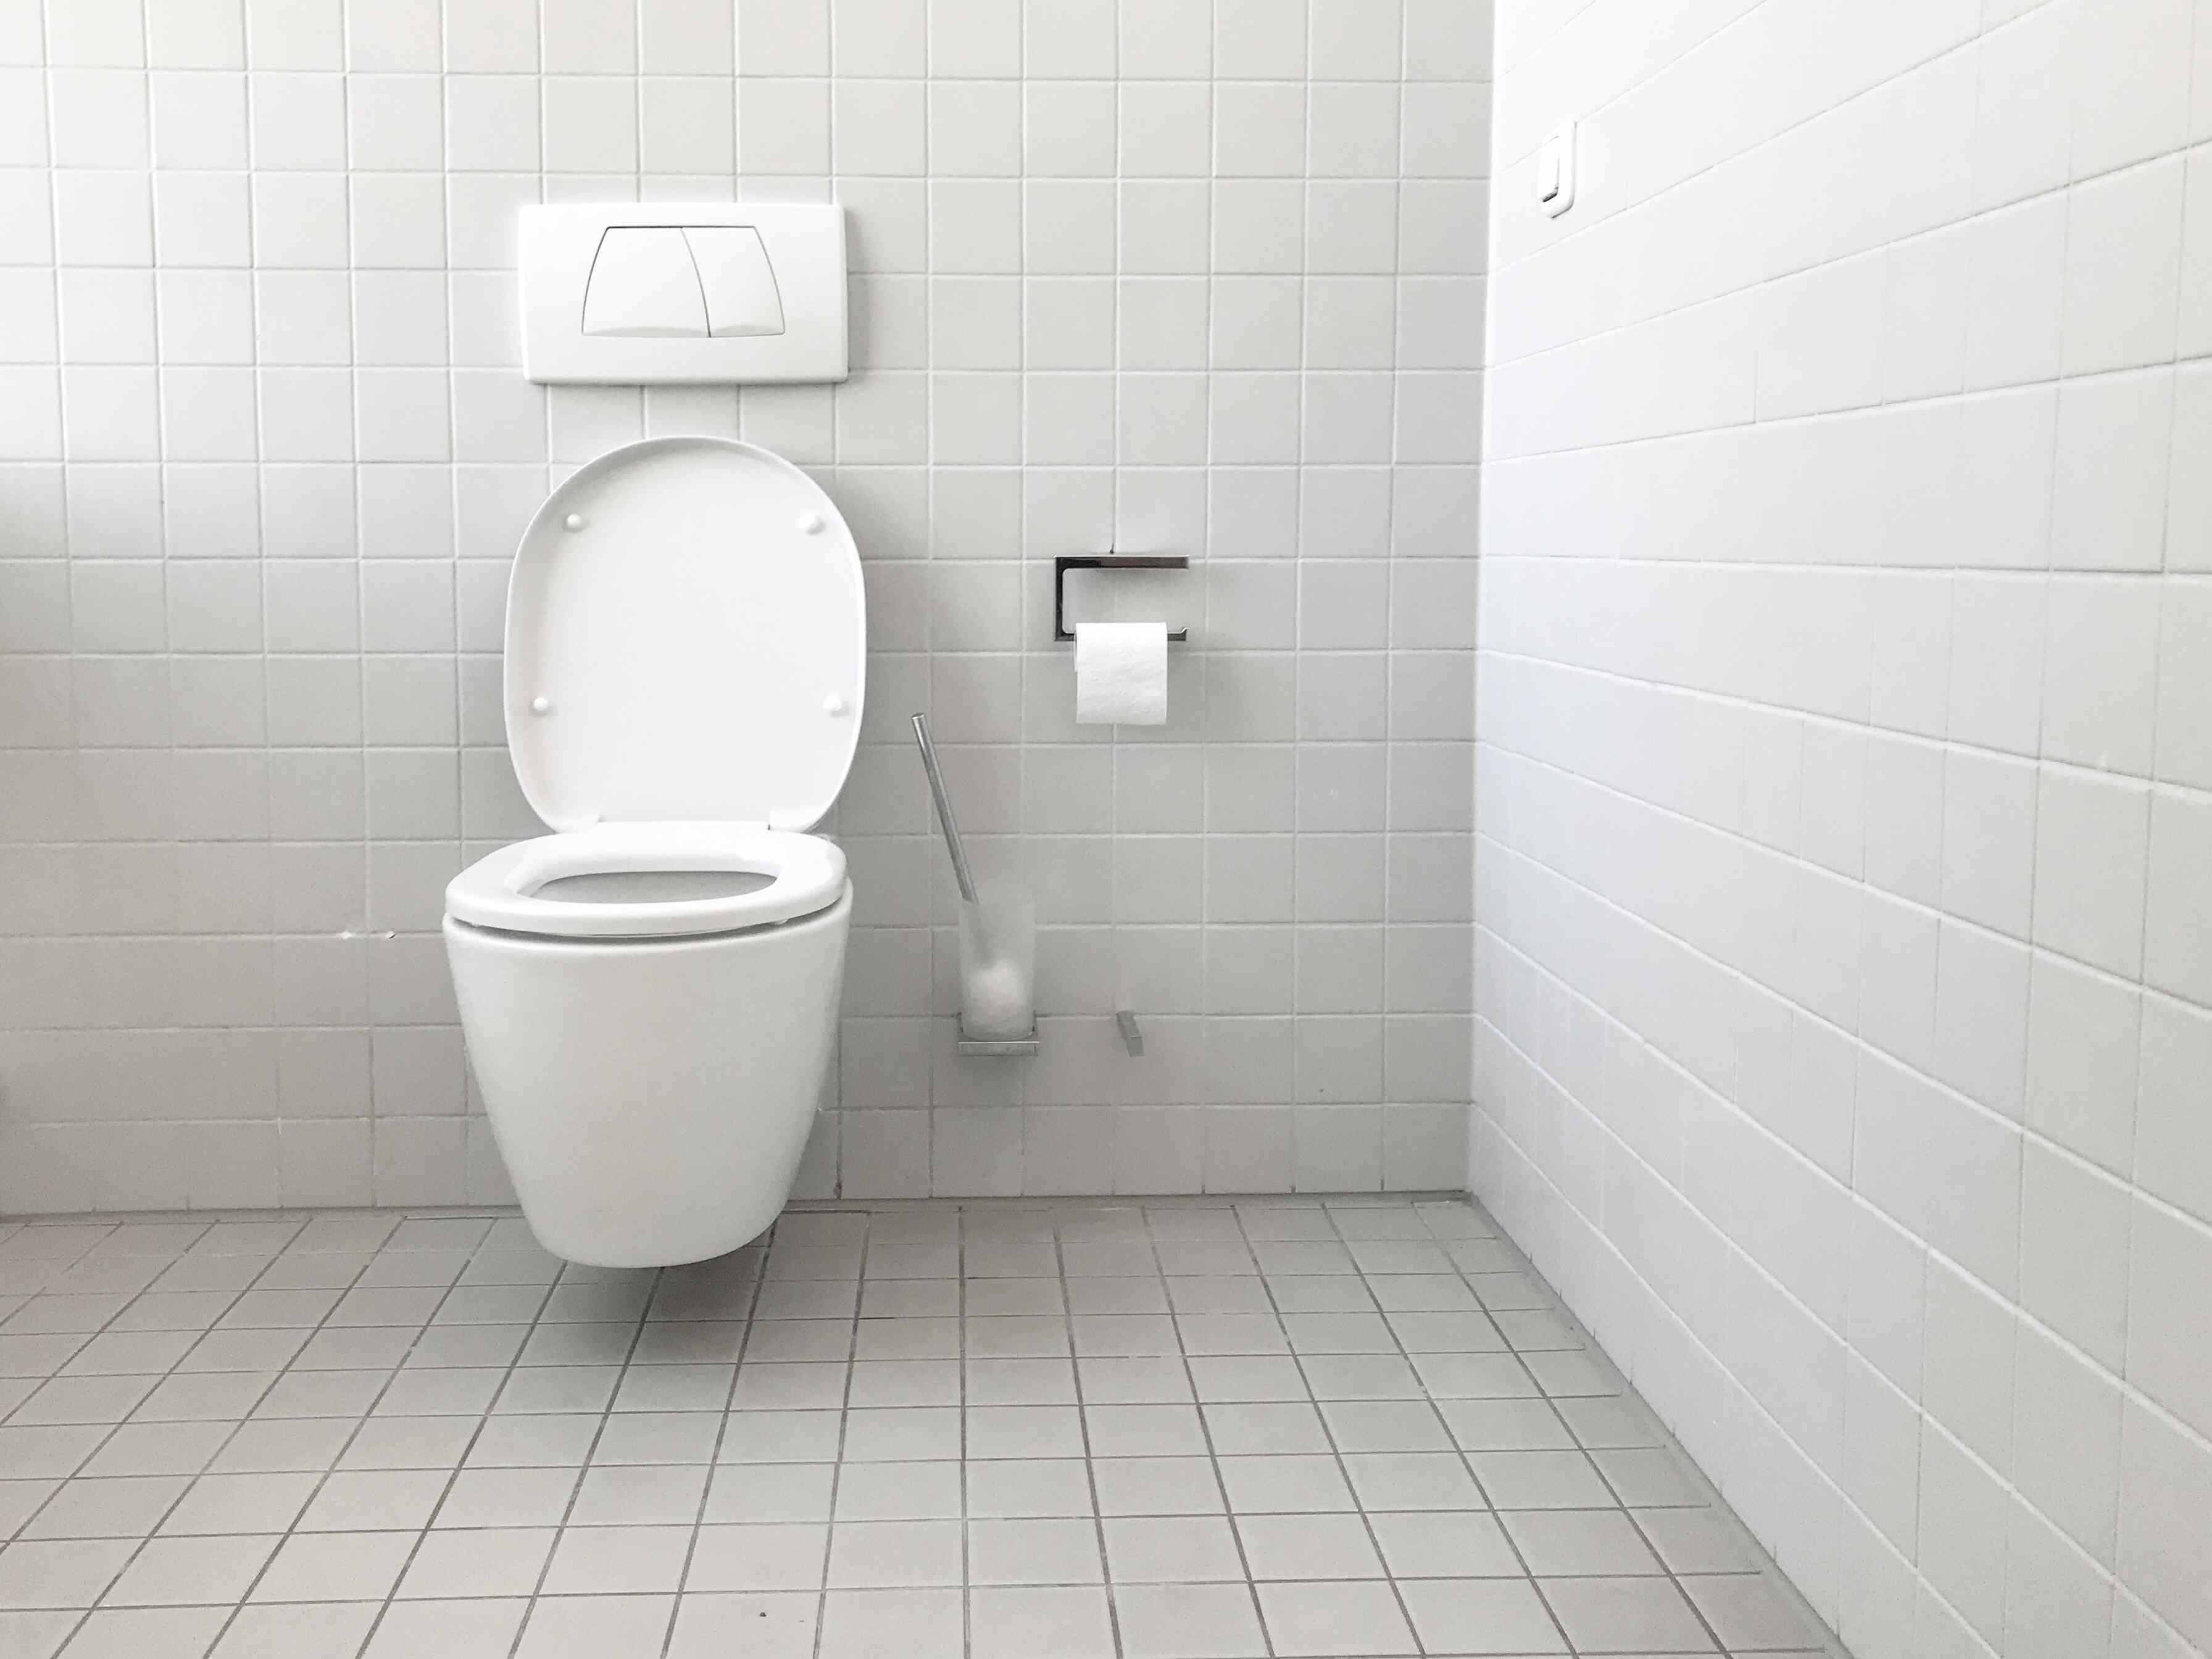
How to clean tiles in a bathroom
To help ensure you won’t need to redo the work in the future, this is how to clean tiles in a bathroom.
Create a diluted solution with white vinegar and water in a spray bottle. Then use it on the surface – to avoid streaks, buff it dry.
Some of the other solutions we recommended in our blog on cleaning shower glass will also work well – for example, by using lemon juice or a relevant product from the shops.
So, if you want to know how to clean tiles in the bathroom, it’s as simple as that. Doing so regularly will help maintain the quality and cleanliness of your tiling for years to come.
Final thoughts: How to tile a bathroom
If you’ve finished reading our guide on how to tile a bathroom and think it sounds too difficult, don’t worry…
We’re ready! Ability Bathe are experts in custom bathroom installations and design – including tiling – all covered by our 10-year guarantee.
We are a friendly, family-run service with more than 35 years’ experience and free home appointments are available in Devon, Cornwall, Plymouth and surrounding areas. Please contact us to see how we can help you.