How To Fit A Shower Screen: Our Guide

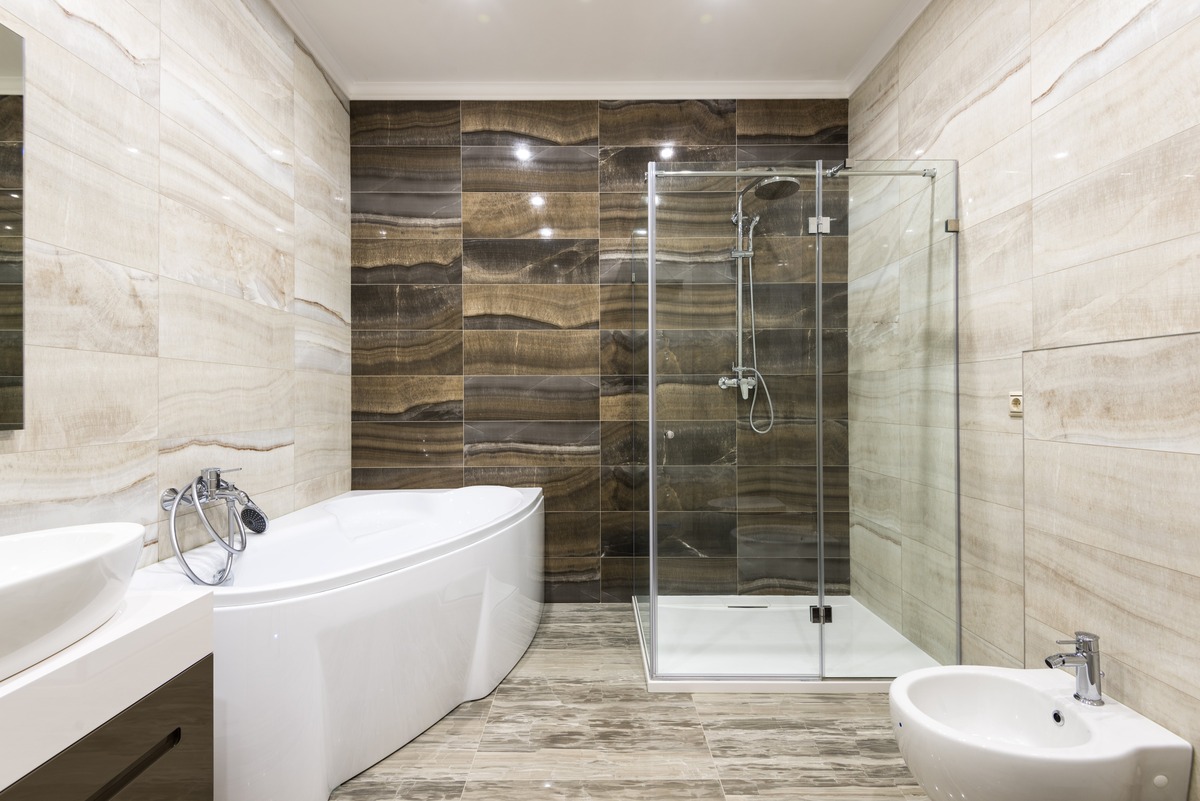
A shower screen is a stylish and practical alternative to a curtain. It keeps water where it should be, gives your bathroom a modern finish and is easier to keep clean.
When wondering how to fit a shower screen, people often wonder whether they should attempt it themselves or contact a professional. Recently the National Accident Helpline estimated that at home, 26% of injuries happened in the bathroom.
After all, shower screens are heavy, and fitting them correctly is essential to avoid leaks. In this blog, we’ll explain how to fit a shower screen step by step, what to expect if you hire a fitter and the common mistakes to avoid – whichever option you choose.
This article is provided for guidance and general informational purposes only. It does not constitute professional advice or recommendations. While efforts have been made to ensure the accuracy of the information, no responsibility is accepted for any errors, omissions, or actions taken based on this content. Readers should consult a qualified professional for advice specific to their situation before making any decisions or taking any action.
Key takeaways: How to fit a shower screen
- Fitting a shower screen involves measuring, drilling, securing the frame and sealing with silicone.
- It’s possible to do it yourself if you have the right tools and knowledge.
- Always have a second person to help lift and steady the glass.
- Pay close attention to sealing at the bottom edge to prevent leaks.

Why fit a shower screen?
Shower screens aren’t just practical — they also can add style to your bathroom.
Compared with curtains, they stop more water from escaping onto the floor and are easier to keep hygienic. They also come in a range of designs.
Fixed panels give a minimalist look, while hinged, folding or sliding screens are useful if you need easier access in a smaller bathroom. If you’re thinking about different possible small bathroom layouts, we’ve covered it in this guide.
Tools and preparation
Preparation is key when it comes to any bathroom project.
If you choose to install your shower screen yourself, make sure you’ve got everything you need to hand before you start work.
A tape measure, pencil, spirit level, drill, wall plugs, screws and screwdriver are essential.
You’ll also need silicone sealant, an applicator gun and safety gear such as goggles and gloves.
Note: Check for hidden pipes or wires before drilling, and wipe down the area where the screen will be fitted, so the sealant will bond properly.
Ideally, have a second pair of hands nearby. Not only are shower screens heavy, but their shape and size make them awkward to lift on your own.

Step by step: how to fit a shower screen
If you’re not confident about what to do, or DIY isn’t your strong point, then don’t try this at home and call an expert instead.
When it comes to fitting a shower screen, accuracy is vital:
- Start by marking out exactly where the wall channel (the vertical piece that holds the glass in place) will sit. A spirit level will help you make sure everything is straight.
- Next, drill the pilot holes where you’ve marked, taking care if you’re drilling through tiles.
- After that, insert the wall plugs, then fix the channel securely to the wall with screws.
- The glass screen can now be slotted into the channel. This part is easiest with two people, as the panels are both large and fragile. Once the screen is in place, tighten the fittings and check again with your spirit level to make sure it’s aligned.
- Finally, apply silicone sealant where the screen meets the wall and the bath or tray. Smooth the bead of sealant for a neat finish and allow at least 24 hours for it to set before using the shower.
If you’re wondering how to fit a shower screen to a shower tray, the key is in the sealing. Shower trays take the full force of the water, so it’s important you pay extra attention to the joint at the bottom edge.
Make sure the tray is level before you start, and run a continuous line of silicone along the base to keep it watertight.
Note: Even a small gap can lead to leaks, so this step is worth taking slowly. Learn more about how to waterproof a bathroom.
Common mistakes to avoid
Many leaks are caused by simple errors such as failing to check alignment or using the shower before the sealant has dried and set properly.
Another mistake is drilling without first checking for pipes and cables behind the wall, which can be an expensive error to put right.
Taking your time with measuring and sealing will help you avoid most issues.
DIY or professional fitting?
Doing the job yourself can feel satisfying, and if you’re handy with tools it might be a straightforward task.
But for many, the weight of the glass, the precision required and the risk of water damage make professional installation the safer choice.
A professional fitter will have the experience to get it right the first time, ensuring the screen is level, secure and watertight.
They’ll also be able to complete the job quickly, usually within an hour or two, leaving you with nothing to worry about.

FAQs: How to fit a shower screen
Can I fit a shower screen myself?
Yes — if you’re handy with tools and take care with measuring and sealing. Having a second person to help lift the glass is highly recommended.
What holds a shower screen in place?
Most screens are secured with a wall channel fixed to the wall using screws and rawl plugs. Silicone sealant is then applied along the joints to make everything watertight.
How to fit a shower screen to tiles?
You’ll need to drill into the tiles slowly with a tile drill bit to avoid cracking. Once the holes are made, insert plugs, fix the wall channel in place and then secure the screen. Always seal along the edges with silicone when you’re finished.
Final thoughts: How to fit a shower screen (UK)
We hope you found this guide useful For other articles, please take a look at our full blog – with articles including:
- Replacing a bath with a shower
- Wet room ideas for the disabled
- Shower room ideas to inspire you
- Bathroom ventilation guide
Recent guides also include: how to clean a bathtub, bathroom storage ideas – and why you shouldn’t use a bathroom dehumidifier.
Let’s recap quickly. Fitting a shower screen is a job that requires care but can be manageable for confident DIYers.
The key point? Take your time.
Don’t rush when measuring or with applying the sealing, and always let the silicone cure fully before use.
If you’d prefer to avoid the risk of making a mistake with installation, calling in a professional is a smart investment.
If you’re in the South-West and need some bathroom refurbishment work completed, the Ability Bathe team have you covered.
We are bathroom fitters Devon loves, bathroom fitters Torquay customers rate highly, bathroom fitters Exeter trusts, bathroom fitters Plymouth… In short, we’re a local family-run bathroom design and installation business, offering a free design visit in your home!
Here at Ability Bathe, we can install shower screens as part of our bathroom upgrades across Devon, ensuring a neat, watertight finish every time. Get in touch with our friendly team today to find out more.


