How To Remove Silicone Sealant: Our Guide

Not sure how to remove silicone sealant in your bathroom? Don’t panic – we’ve got the sealant saga sorted.
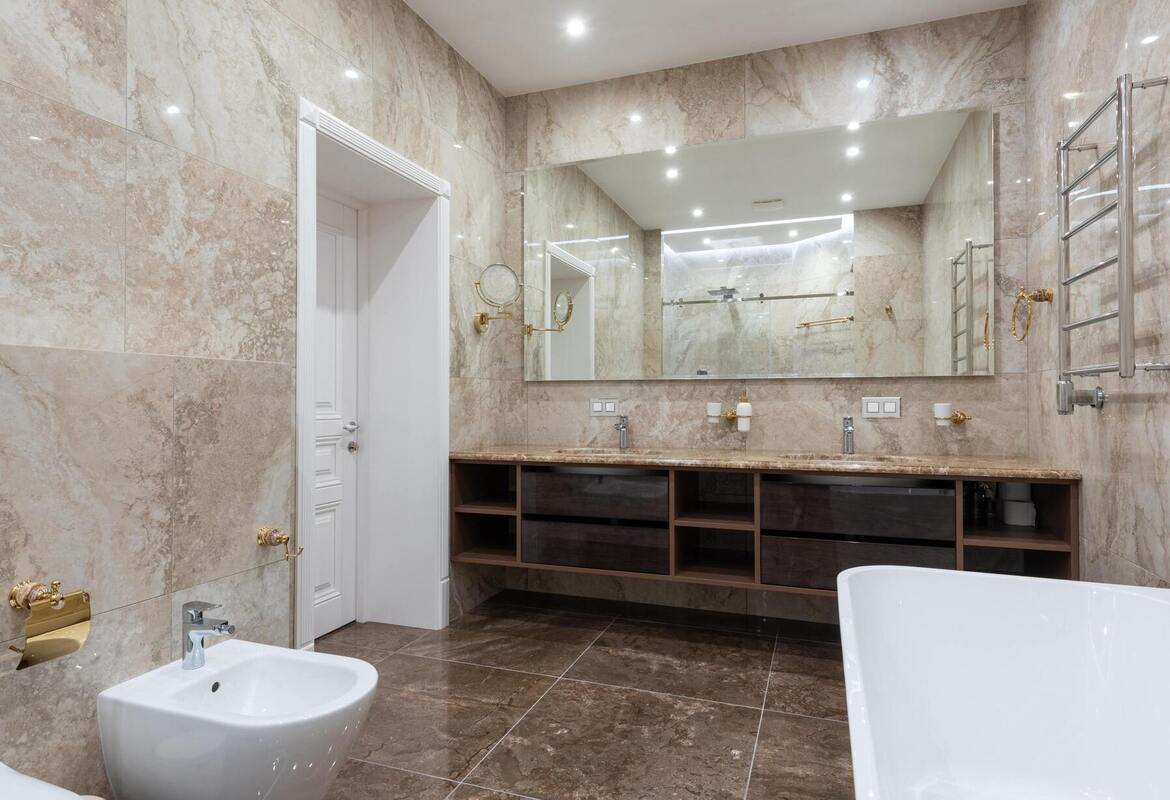
Over time, bathroom sealant can lose its sheen, becoming grimy, mouldy and less effective. That’s when you know it’s time to roll up your sleeves and give your bathroom a fresh start.
Broken sealant can also cause costly water leaks. It has been estimated that repairing a leak costs £1,074 on average.
And the cost of water dripping alone can add up over time too – as many as 20% of UK homeowners have had at least three water leaks. For more information, here’s how to waterproof your bathroom.
Much like unblocking a bathroom sink, you don’t always have to call someone to remove sealant. Armed with a handful of straightforward tools and techniques, you can wave goodbye to that stubborn silicone and restore your bathroom’s charm.
In this practical guide, we’ll walk you through how to remove bathroom sealant. However, if you’re not confident in your expertise, it’s better – and safer – to reach out to a professional.
Key points: How to remove silicone sealant
- Bathroom silicone sealant becomes dirty, mouldy and less effective over time, which can lead to costly leaks if it isn’t replaced.
- You can safely remove old sealant yourself using a purpose‑made removal tool or gel, then carefully scrape away softened residue.
- Stubborn remnants can be loosened with a little white spirit on a cloth before being picked off with tools like tweezers or a toothbrush.
- Before resealing, it’s important to clean and dry the area thoroughly (including treating any mould) so the new silicone adheres properly.
- Once resealed, regular checks, good ventilation and gentle cleaning products will help your new sealant last longer and keep the bathroom looking fresh.
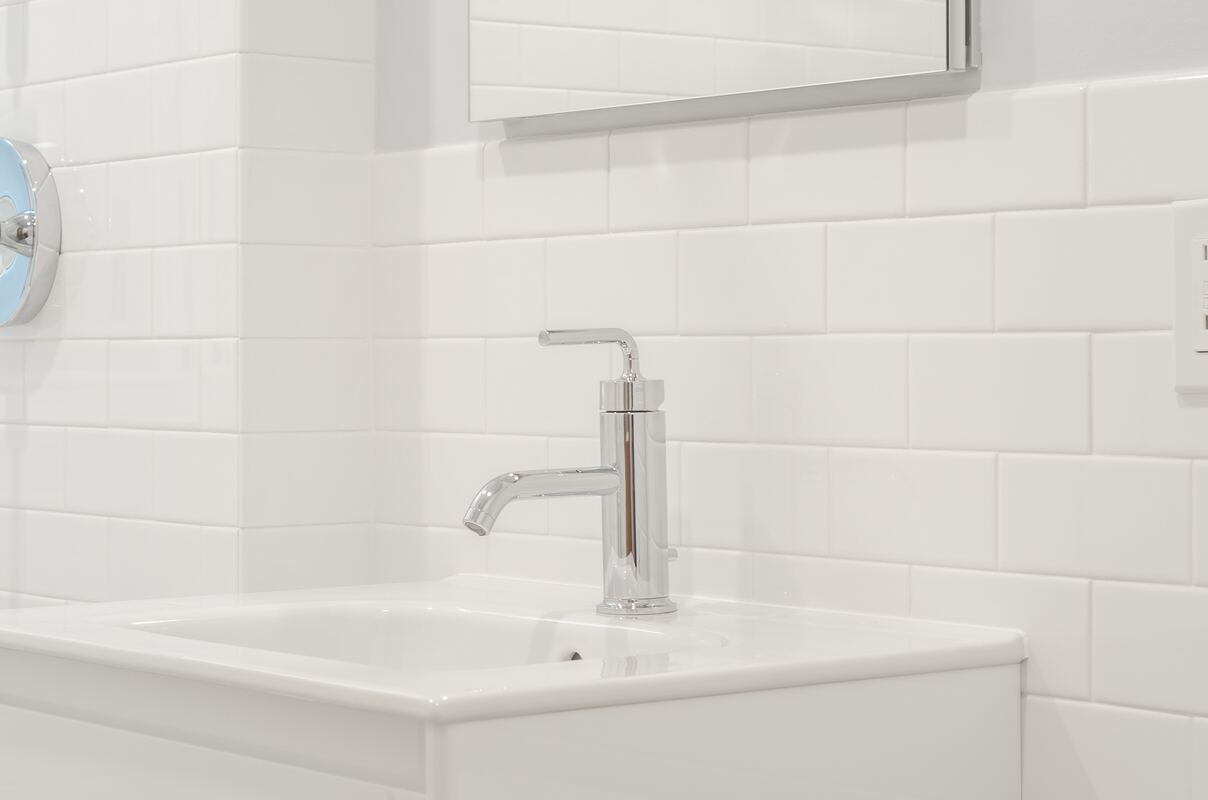
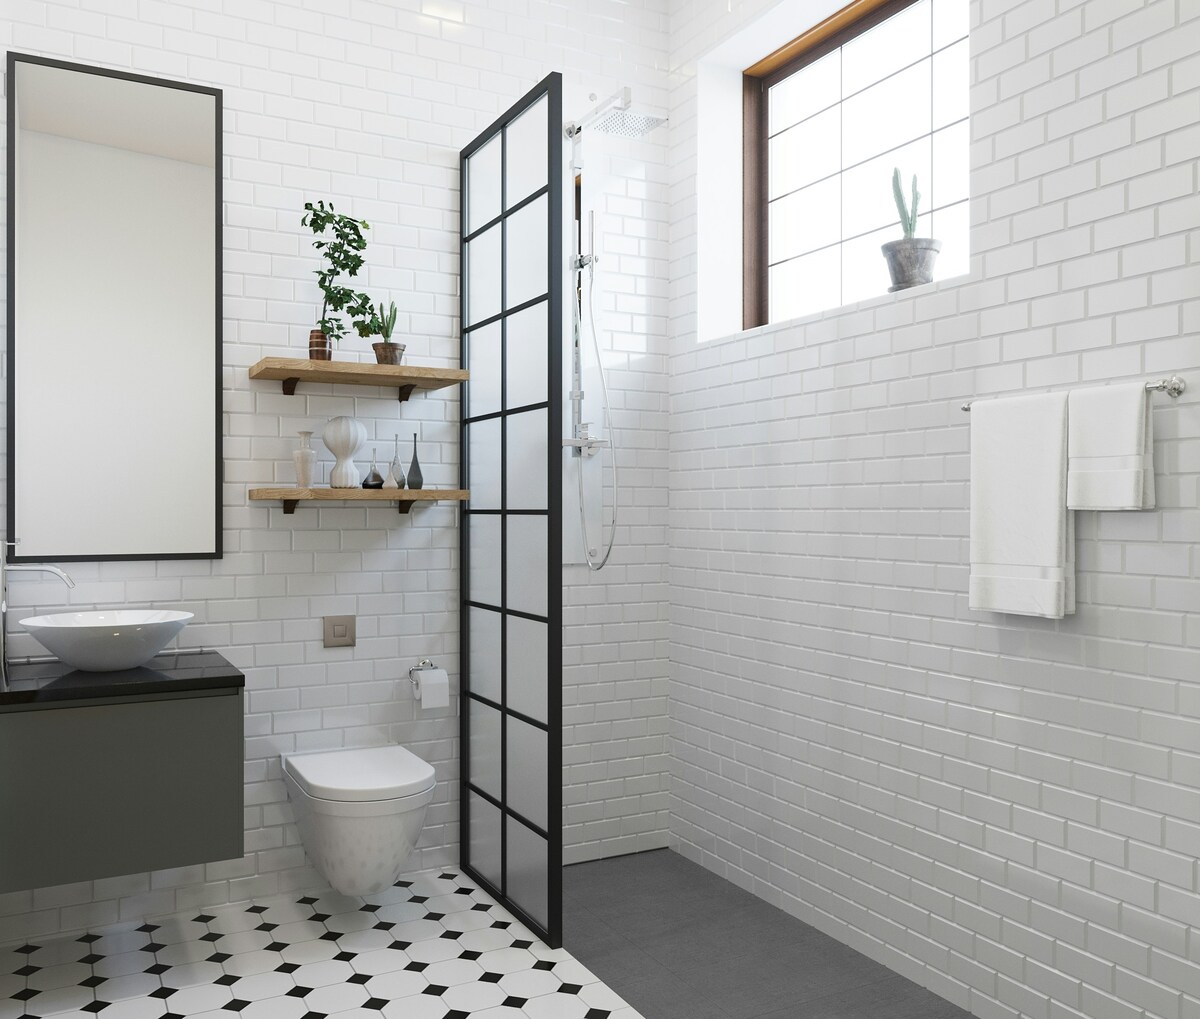
How to remove bath sealant
Removing silicone is a must-have skill for any DIY fanatic. To ensure a speedy, squeaky-clean process, we’ve put together five easy steps for you to follow.
Our step-by-step guide will show you exactly how to do it – it’ll be a breeze to revitalise the glory of your bathroom.
Step 1: Picking the perfect tools
Just like if you’re tiling a bathroom, when you’re removing silicone sealant, you need the right tools for the job. Sure, you could plump for a Stanley or putty knife, but the reality is, it isn’t the safest option. You might end up damaging or scratching the surfaces you’re trying to reseal.
Your best bet is to use a sealant remover tool, which you can get your hands on for under £10. Not only will these handy tools destroy old silicone sealant successfully, but they also prepare the surface for a flawless resealing process.
Step 2: Using removal gel
Not a fan of a little elbow grease? Then opt for a sealant removal gel instead. Again, you can purchase it for a low price. And to use it, here’s what you need to do:
- Load the gel into a mastic gun.
- Apply liberally to the old sealant and wait – patience is key.
- Leave it for roughly two hours
- Leave it much longer for older or more stubborn sealants
Feel free to scrape off the softened existing sealant or apply the gel first. Then, for easier removal, let it break down the silicone.
Step 3: Handling any sealant remnants
Occasionally, a few unrelenting bits of silicone caulking refuse to shift. No problem – dab some white spirit on an old cloth and gently rub over the leftover pieces until they soften.
When you do this, it makes the silicone less sticky. What’s more, it facilitates easy clean-up. If there are still leftovers, use pliers, tweezers, or even a toothbrush to scrape them away.
Step 4: Prepping for the new sealant
As soon as you’ve removed the old sealant and got rid of any mould from the bathroom, it’s time to prep the surface for a new one. If you’re working on a tiled wall, cleanliness is key. So, use a mix of water and bleach to eliminate any lurking mould.
Let the surfaces dry entirely before applying the new silicone sealant. If you decide to use removal gel, remember to rub white spirit over the surface – this kills off any residue that may disturb the new sealant.
Step 5: Applying the new sealant
So, you’ve prepped and primed the surface – great! Now comes the grand finale – putting on the new sealant. Whether you’re sprucing up the bathtub, shower or sink, the steps remain the same.
Firstly, insert the sealant tube into the mastic gun. Then snip off the tip to match the gap and squeeze the silicone in place.
Don’t forget to rub away surplus sealant residue along the way. For a seamless final touch, gently dip your finger into a mix of half washing-up liquid and half water, then smooth the silicone for a polished look.
When should you seek help for bathroom sealant removal?
Okay, so you’ve given your bathroom a DIY spa day, but the strong-willed sealant won’t budge. When’s the right time to wave the white flag and call the professionals?
Well, if your sealant is clinging on and playing hard to get, or if the removal process becomes more like a wrestling match than a DIY project, it’s probably time to make the call.
And of course, if you’re worried about making a mistake or causing some damage, then it’s best to leave it to an expert.
Professional help doesn’t mean you’re admitting failure. It’s just calling in top-notch support to ensure your bathroom comes out on top. At the end of the day, some challenges are better faced with experience on your side.
Top tips: Maintaining your new sealant
So, you’ve put an end to the sealing saga. But how do you preserve your triumph? Here are some bonus tips to make sure your newly sealed bathroom maintains its longevity.
Check it frequently – Just like you’d visit the doctor’s each year, keep a keen eye on your bathroom every couple of months. Look for any signs of damage in the sealant. It’s easier to rectify little problems early on.
Notice any gaps appearing – Watch out for any spaces around your bathtub, shower or sink. If you see any openings forming, you might need to give your sealant a little refresh. Tackling this ahead of time stops larger problems from occurring in the future.
Good ventilation is essential – Having bathroom-friendly airflow is crucial. If your bathroom is well-ventilated, this stops mould and mildew from showing up out of the blue. Here is our comprehensive guide to bathroom ventilation.
Light cleaning – When you get around to cleaning, plump for mild solutions, not aggressive chemicals. Harsh cleansers can worsen the sealant over time, causing untimely ageing.
Finally, celebrate your wins. You renovated part of the bathroom – that’s more than enough reason to rejoice. Pamper yourself with a comforting shower or peaceful bath – because you no doubt deserve it!
FAQs: How to remove silicone sealant
Does WD‑40 remove silicone sealant?
WD‑40 can help loosen and soften bits of old silicone, making them easier to scrape away, but it will not completely remove a full bead of cured sealant on its own. You should still rely on a proper silicone remover or careful scraping, and then use WD‑40 only as a helper for small remnants if needed.
Does white spirit remove silicone sealant?
White spirit does not truly dissolve silicone, but it can help clean away greasy residue and soften thin leftovers after most of the sealant has been cut or scraped off. Use it sparingly on a cloth, avoid soaking acrylic or painted surfaces, and keep the room well ventilated while you work.
What dissolves silicone quickly?
Cured bathroom silicone is designed to resist most household chemicals, so the quickest option is usually a specialist silicone remover gel that breaks down the sealant so it can be scraped away. These products need time to work, so always follow the manufacturer’s instructions on how thickly to apply them and how long to leave them before removal.
Does vinegar dissolve silicone?
Vinegar can help loosen fresh, uncured silicone and may clean some residue from nearby surfaces, but it will not properly dissolve fully cured sealant. For set bathroom silicone you’ll need mechanical removal and, ideally, a commercial silicone remover rather than relying on vinegar alone.
Final thoughts
For other articles, please take a look at our full blog – popular guides include:
- Replacing a bath with a shower
- Wet room ideas for the disabled
- Shower room ideas to inspire you
- Bathroom ventilation guide
Removing silicone sealant doesn’t need to be an anxiety-inducing task. With the right tools and a little patience, your bathtub or shower will look brand new in no time at all.
But remember, if you’re not sure what to do, get help from a professional. It’s better to be on the safe side.
We hope you found this guide useful – there are plenty more on our blog. Recently we’ve shared our top 10 spa style bathroom ideas for your home and an explainer on how to replace a bathroom tap.
We are Ability Bathe, a family-run bathroom design and installation business with over 35 years of experience.
Discover how we can modernise your bathroom with our walk-in showers and wet rooms. If you’re curious to know more about our bathroom services in Devon or the South-West, please get in touch.